Check If You Are Connected to the Internet
To check if your device is connected to the internet, you can perform a simple test by visiting a website or opening an app that requires an internet connection. If the website or app loads successfully, you are connected to the internet. If it does not load or gives an error message, you may not be connected without internet.
Another way to check your internet connection is by going to the settings menu on your device. Look for a menu labeled “Wi-Fi” or “Network” and check if the device is connected to a network. If it is connected, the name of the network will be displayed. If not, it will say “Not connected” or something similar.
You can also check your internet connection on an android device by opening the notification bar and look for the network icon. If it has a signal, it means you are connected to the internet. However, if it shows an exclamation mark or a “X” mark, it means you are not connected without internet.
Check If Mobile Data is Turned Off
If you are not connected to the internet even when you are in an area with good Wi-Fi coverage, it is possible that your mobile data is turned off. To check this on an android device, go to the settings menu and look for the “Data Usage” or “Mobile Data” option.
If the toggle switch is set to off, mobile data is turned off and you will not be connected without internet. You can also check the status of your mobile data by looking at the notification bar. If the mobile data icon is not present, it means that mobile data is turned off. To turn it on, pull down the notification bar and tap on the mobile data icon.
It’s important to note that if you have a limited data plan, turning on mobile data when you are not connected to Wi-Fi can lead to additional charges. Therefore, it’s important to monitor your data usage and turn off mobile data when not in use.
In conclusion, it’s easy to check if you are connected without internet on an android device by visiting a website or opening an app, checking the settings menu or the notification bar. If you are not connected to the internet, check if your mobile data is turned off, and if so, turn it on to regain internet access.
Disable and Enable WiFi on Android
To disable WiFi on your Android device, go to the settings menu and select “WiFi.” Here, you will see a toggle switch that can be used to turn off the WiFi connection. Once this switch is turned off, your device will be disconnected from any wireless networks and will not be able to connect to the internet.
This is useful if you are trying to conserve battery life or if you are in an area with poor WiFi reception. However, keep in mind that you will not be able to access any internet-connected features, such as browsing the web or using social media, while WiFi is disabled.
To enable WiFi on your Android device, go to the settings menu and select “WiFi.” Here, you will see a toggle switch that can be used to turn on the WiFi connection. Once this switch is turned on, your device will automatically search for available wireless networks and connect to one if it has the appropriate credentials.
This is useful if you need to access the internet or if you are in an area with good WiFi reception. However, keep in mind that you may be connected to a network without internet access and that you may need to manually select a different network if the one you are connected to does not have an internet connection.
Check Time and Date Settings
Fix ill-configured date and time on Android:
- Open Clock app
- Go to Settings
- Tap “Change date and time”
- Turn on “Automatic date and time” & “Automatic time zone”
- If not automatic, set proper time & time zone manually
- Restart device & check for proper time display
Note: Android devices are usually set to obtain time & date from network operator, but if manually changed, ensure automatic option is turned on for proper updates after restart.
Forget and reconnect to Wi-Fi Network
Fix WiFi issue on Android:
- Go to Android Settings
- Select WiFi
- Tap the current network and choose “Forget”
- Connect to the network again and enter password
- Tap “Connect”
Note: Reconnecting the WiFi network may provide a new local IP address which can resolve the issue.
Check If Router is Blocking Network Traffic
If your Andriod device is connected to a WiFi network without internet, it may be that the router is blocking network traffic. To check if this is the case, access the router’s settings by typing the router’s IP address into a web browser.
The IP address can typically be found on the router itself or in the documentation that came with it. Once logged in, check the router’s settings for any security or firewall options that may be blocking traffic.
Look for options such as “MAC filtering,” “parental controls,” or “access control” that may be blocking the Andriod device’s access to the internet. Disable any options that may be blocking traffic and try to reconnect to the network. If the issue persists, contact the router’s manufacturer for further assistance.
Change your DNS
DNS, or Domain Name System, is what connects the domain names you type into your browser with the IP addresses of the websites you want to visit. Sometimes, the DNS provided by your internet service provider (ISP) may not be the fastest or most reliable. To improve your internet experience, you can change your DNS to a public DNS service such as Google’s or Cloudflare’s.
To change your DNS on an Android device,
- Go to WiFi settings
- Long-press the desired WiFi network
- Select “Modify network”
- Change IP option to “Static”
- Enter static IP, DNS1 (8.8.8.8), and DNS2 (8.8.4.4)
- Save changes
Note: If unable to access websites from IP address, the issue may be with the ISP’s DNS. Switching to Google DNS (8.8.8.8 & 8.8.4.4) can resolve it. Changing your DNS may help resolve issues with website load times or DNS errors.
Change Wireless Mode on Router
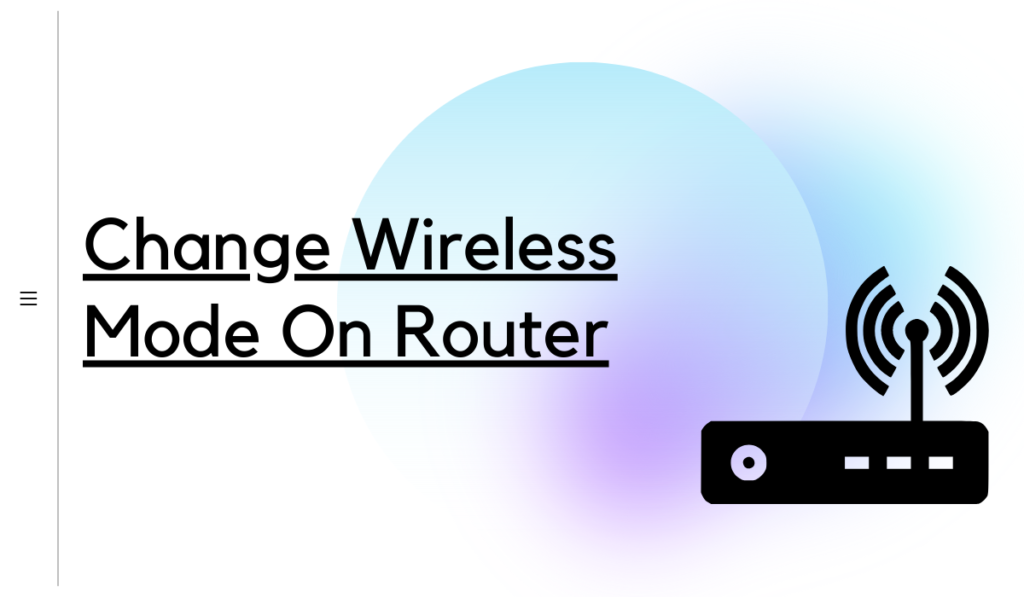
The wireless mode on your router controls how it interacts with other wireless devices in the area. Changing the wireless mode can improve the performance and compatibility of your connected without internet Andriod device.
To change the wireless mode on your router:
- You’ll first need to access the router’s web interface. The process for doing this will vary depending on the make and model of your router. Typically, you can access the web interface by typing the router’s IP address into your browser.
- Once you’re logged in, look for a menu or settings page that pertains to wireless or WiFi. In this page, you’ll find an option to change the wireless mode. There are typically several options to choose from, such as “b/g/n,” “b/g,” “n/ac,” etc.
It’s important to note that changing the wireless mode on your router may affect the connectivity of other devices on your network. For example, if your connected without internet Andriod device only supports b/g/n and you change the wireless mode to n/ac, your device will no longer be able to connect to the network.
Always check your device’s specifications before making changes to the wireless mode on your router.
In summary, changing your DNS or wireless mode on your router can potentially improve the performance and compatibility of your connected without internet Andriod device. However, it’s important to keep in mind that these changes may also affect other devices on your network and may not always solve connectivity issues.
Reboot or Reset WiFi Router
Rebooting or resetting your WiFi router can fix various issues such as poor connectivity, slow internet speeds, or a completely connected without internet Android device.
To reboot your router, unplug it from the power source for a few seconds and then plug it back in. Wait for the router to fully boot up and then check if your Android device is now able to connect to the internet.
If a reboot does not fix the issue, you can try resetting your router to its factory settings. This will erase all custom settings and configurations that may be causing the problem. To reset your router, locate the “Reset” button on the back of the device.
Use a paperclip or similar object to press and hold the button for 10 seconds. Release the button and wait for the router to fully reset. Once the reset is complete, you will need to set up your router again with your internet service provider’s settings.
Reset Android Network Settings
If your Android device is connected without internet, resetting the network settings may fix the problem. This will erase all custom network settings, such as Wi-Fi passwords, and restore the device to its default settings.
Reset Android network settings:
- Go to Settings
- Select “Reset options”
- Tap “Reset Wi-Fi, mobile & Bluetooth”
- Press “Reset Settings”
- Connect to WiFi network after reset
Note: If previous fixes don’t work, resetting network settings can resolve internet connectivity issues.
Factory Reset
A factory reset is a process of restoring a connected without internet Android device, such as a smartphone or tablet, to its original factory settings. This is typically done to erase all personal data and restore the device to its original condition.
Factory reset Android device:
- Go to Settings
- Select “Reset options”
- Tap “Factory data reset”
- Confirm and press “Reset Phone”
Note: Factory reset is the final solution to resolve persistent issues on an Android device.
Conclusion:
If an Android device is connected to a wifi network but is not able to access the internet, we have mentioned the steps to resolve the issue. If these steps do not work, it may be necessary to contact the wifi network administrator or the device manufacturer for further assistance.
It’s also important to remember that troubleshooting the specific issue of the device not having internet access while it’s connected to wifi may vary based on the device model and the operating system version.